
There are a lot of workflow templates that are delivered with Dynamics AX 2012, but that doesn’t mean that those are the only ones that you can use. Developing new workflow templates and actions are pretty straight forward. Here is a fairly simple example focusing on a basic approval workflow process.
Keep in mind that this is only for demonstration. You’ll probably have to deviate some instructions at your will and use different tables, forms and so on. Always make sure to compile in each step and check for errors.
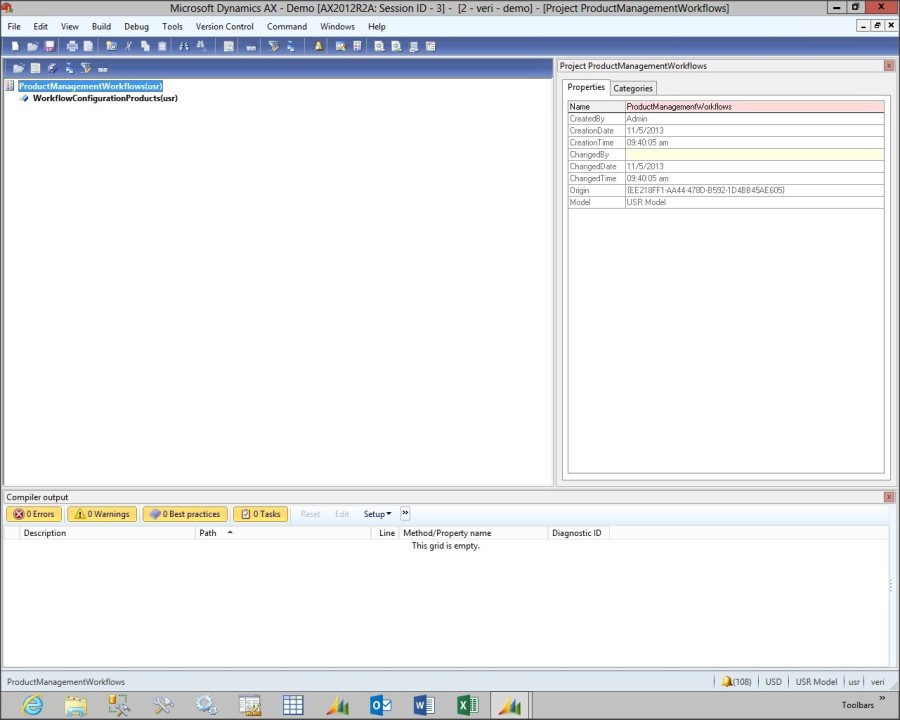
- First step is to create a new project for your development. Feel free to name it as you prefer.
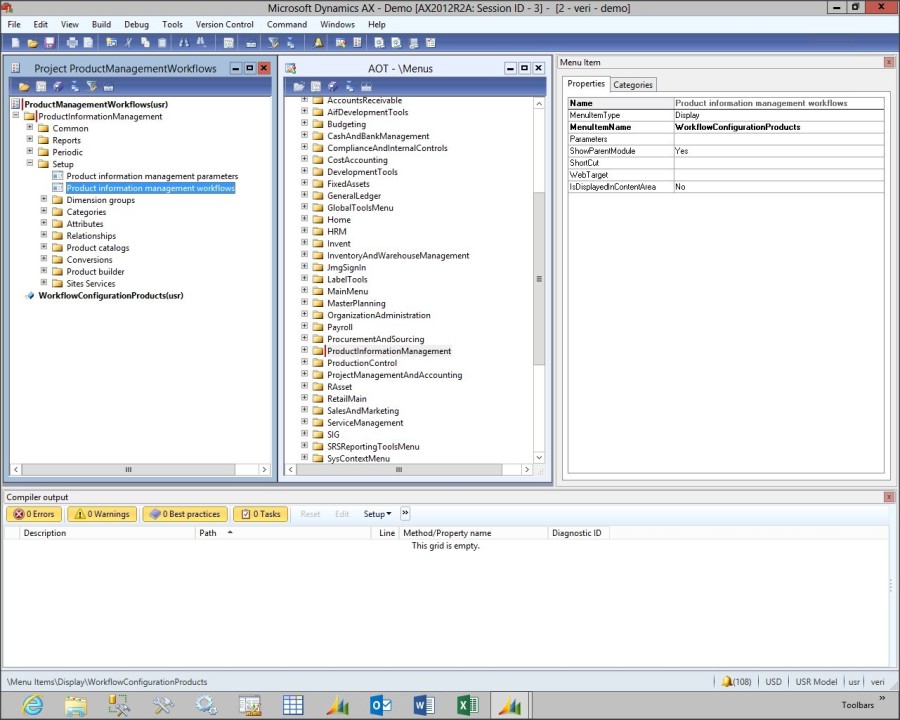
- Create a display menu item for the workflow, change the Object property to WorkflowTableListPage, EnumTypeParameter to ModuleAxapta and the EnumParameter to Inventory (this will change according to the module you’re using).
- Once you have the menu item, you can add it to the Product information management (or the module you’ve chosen) area page so that you can use it.
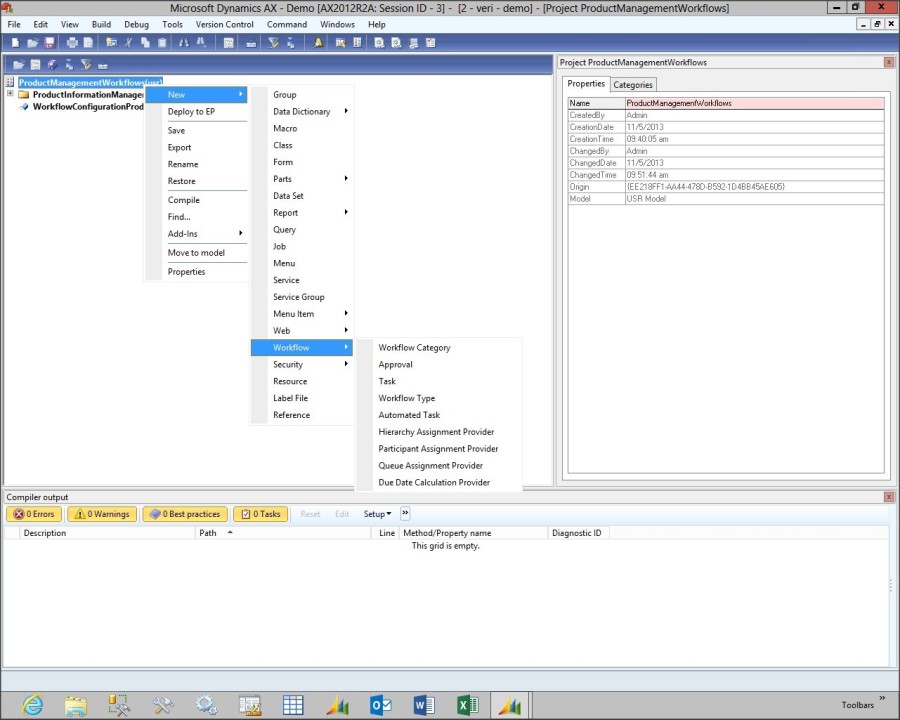
- Now we can start building our framework for the workflows themselves. The first step is to create a Workflow Category to store all of our new workflows against.
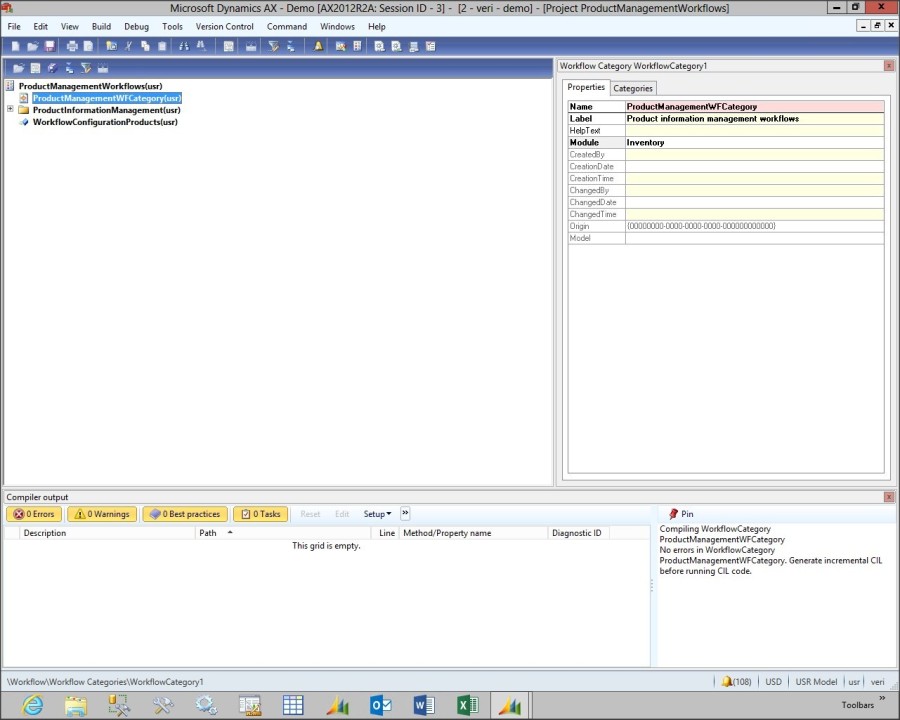
- Change the Module parameter to Inventory – you know the drill :D. This is the same as the EnumParameter of the workflow editor that we just created which tells the editor to use the workflows that are assigned this category.
- The status of any of the workflows will be tracked through an enumeration field, which allows you to assign any number of values to segregate out the different processes. For this scenario we can create a new ENUM with the elements for Submitted, Approved, and Rejected.
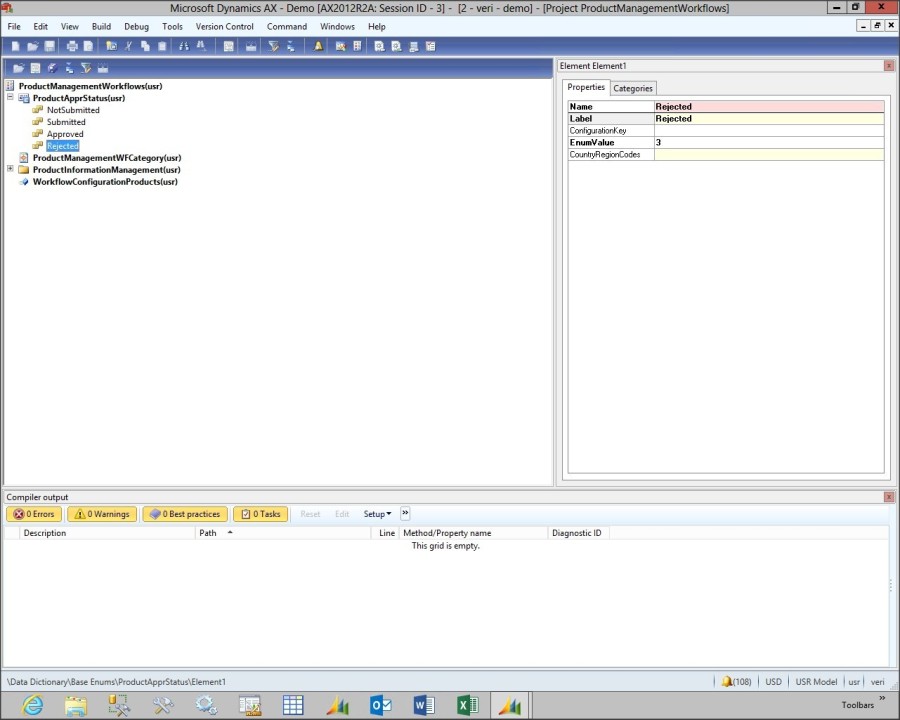
- Now that we have a Base Enumeration that defines all of the possible states for the approval of the products, we need to add it to the Product table so that we can track the status of the records. Drag and drop the table inside the workflow project and add a new field using the new ENUM we’ve just created. Don’t forget to change the label to something user-friendly.
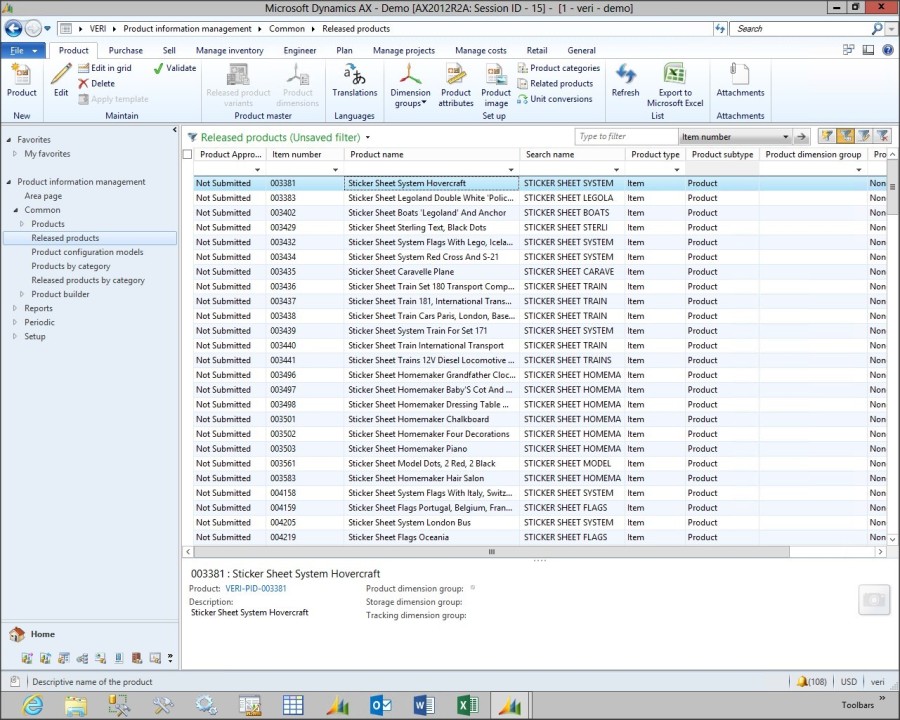
- Now we can add the field to the Released Products form by personalizing it to trigger the workflow. We will be able to see the statuses of all of the product approvals. Go ahead and right-click then go with Personalize option at the area page you’ve chosen.
- Tables need to be enabled for workflow processing before they can be used by the workflows themselves. You can do this simply by adding a method to the table called canSubmitToWorkflow(). Something like this:
boolean canSubmitToWorkflow(str _workflowType = '')
{
	inventTable InventTable;

	if (this.ProductApprStatus != ProductApprStatus::NotSubmitted)
		return false;

	return true;
}
You can use your own business logic and add some more stuff to be verified.
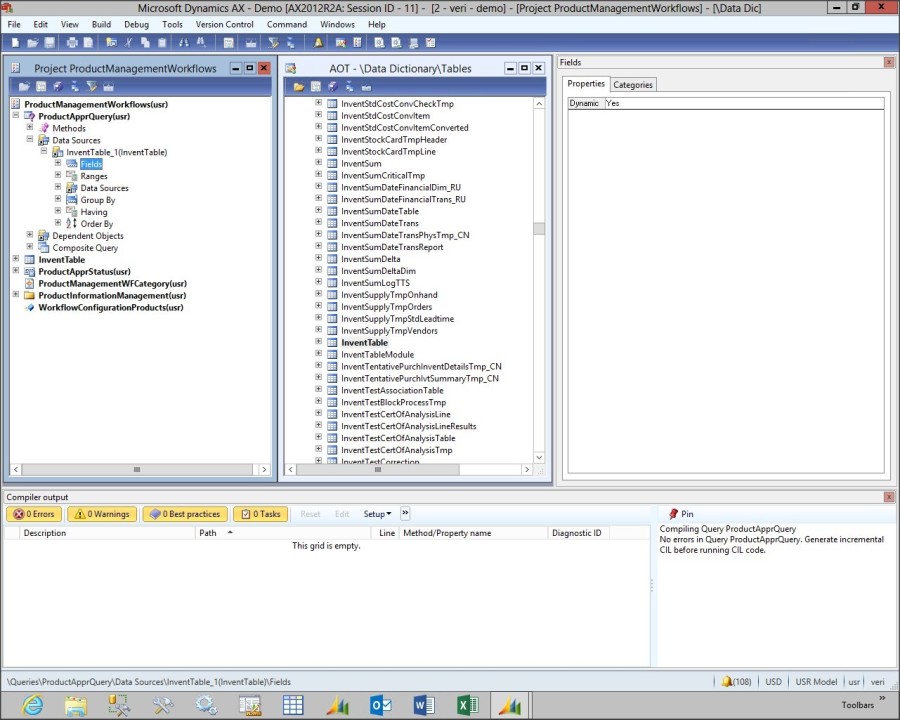
- Before we move to the workflow template, we first have to create a query onto the base table. This will be useful to the Workflow Wizard. Just create a regular query using your table as the Data Source and set the Dynamic property to Yes at the Fields node.
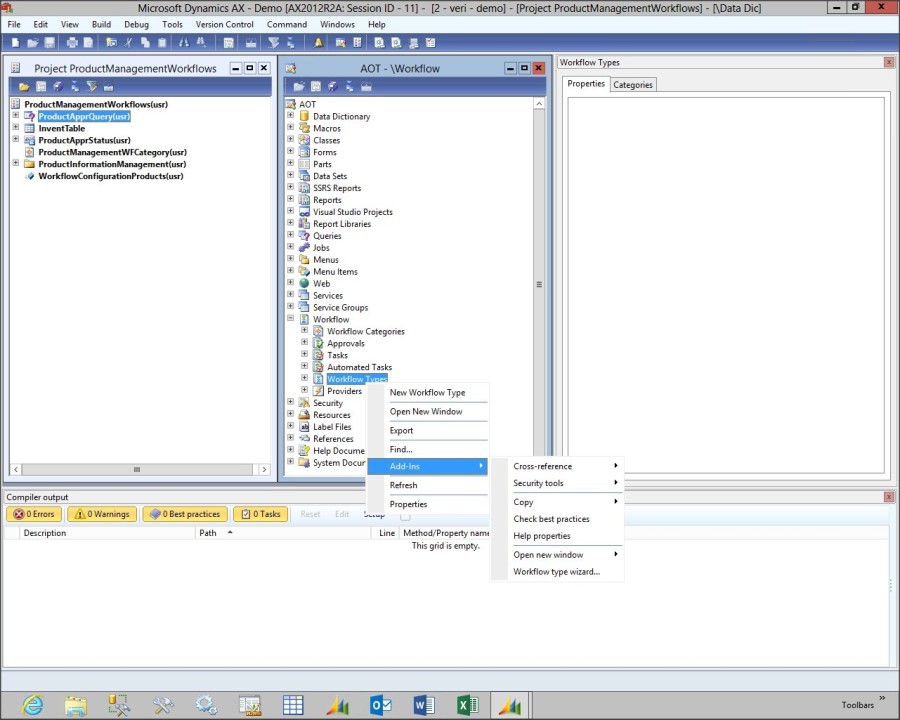
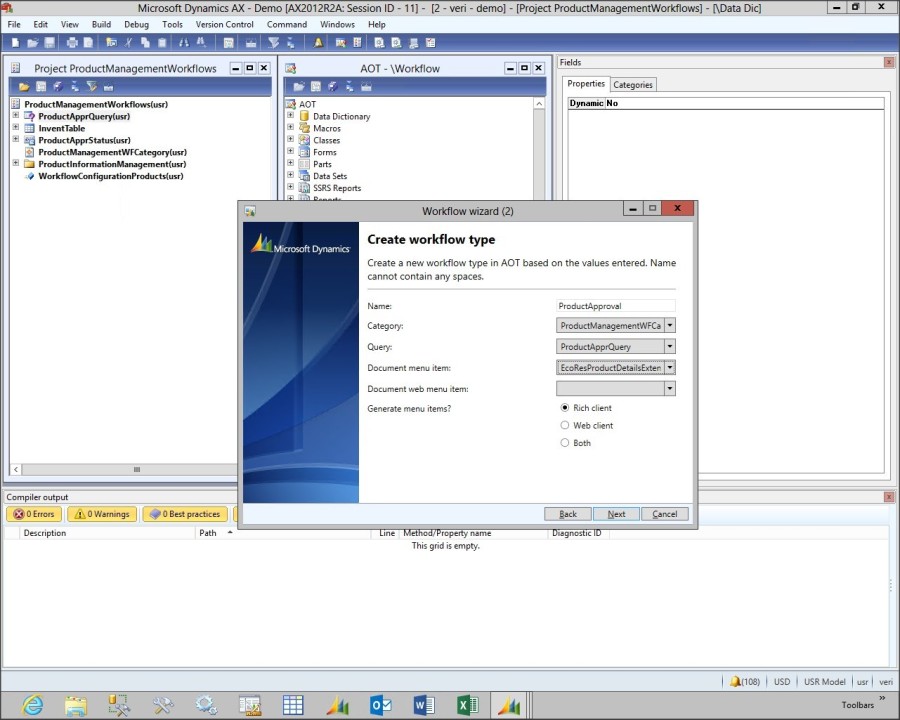
- The Workflow Wizard was added to Microsoft Dynamics AX 2012 and it can create almost all of the framework required for a workflow. Open up the AOT explorer, and expand out the Workflow node so that you can see the Workflow Types folder. Right-click and select the Workflow type wizard from the Add-Ins menu.
- Give your workflow type a name and select the objects created so far, then click Next.
- If everything is OK, Workflow wizard completed title should appear and then you will be able to see a new project has been created, and you will be warned that you should run an incremental CIL generation. Select the Generate Incremental CIL option from the Build menu.
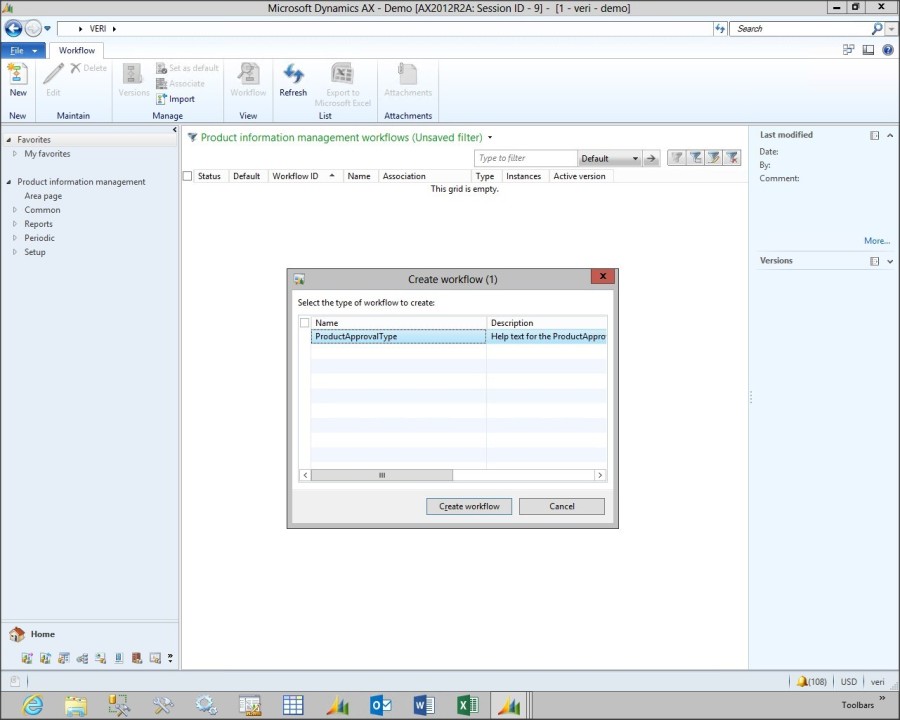
- Now that we have created our workflow, we can actually create a simple approval workflow through the workflow designer. Locate the created display menu item from your module’s menu. Our new workflow type should be listed now.
- Drag a Manual decision action over from the Workflow elements palette and put it under the Start element. Then drag the connectors to join up the three elements, creating a decision path for the approval.

- All of the missing details will be displayed in the Errors and Warnings section. Rather than hunting them down through the ribbon bar, just click on them one by one and you will be taken to where configurations are missing. For the first one in the Assignment group, we can set the Assignment type to User. Switch to the User tab and assign a user to the task.

- Then in the Manual decision step assign a Name, Work item subject and some Work item instructions. Also, in the Outcomes tab, set the Outcomes to Approved and Rejected.
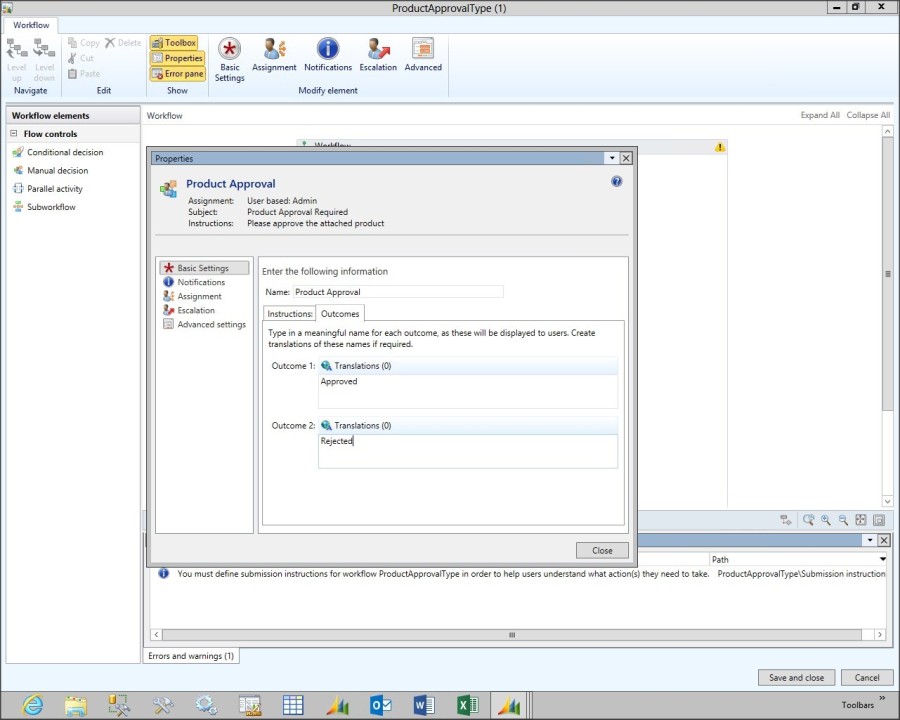
- Finally, add an explanation of the workflow in the Submission instructions at Basic Settings.
- When you return to the designer canvas, you should see no more errors in the Errors and warnings pane, and you can click the Save and close button to commit the changes.

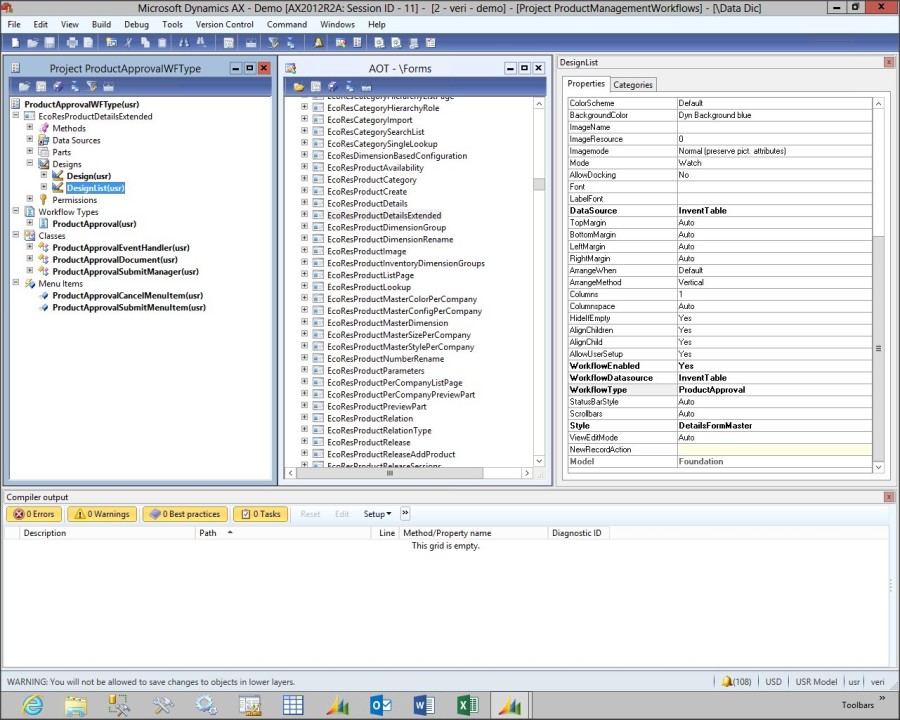
Don’t forget to give your version some notes to explain what it is used for and activate your workflow by selecting the Activate the new version radio button while closing the dialog. - In order for the workflow controls to show up on the forms, you need to enable them to be used by workflows, and also associate the default workflow type to the form. Within the project, locate and open up your form. Expand out the form object and select the DesignList at the Designs section. Change the WorkflowEnabled property to Yes, select the InventTable table from the WorkflowDatasource dropdown box and then from the WorkflowType dropdown box, select your workflow type that is associated with the InventTable table.
- The submission method that is created by the Workflow Wizard is empty, so we need to add some code to tell the system what to do when the user clicks on the Submit button. Open up the the project and double click on the ProductApprovalSubmitManager class (search for the suffix Manager in case of a different name). You can update the main method to look like this (just an idea):
static public void main(Args args)
{
	recId recId = args.record().RecId;
	WorkflowCorrelationId workflowCorrelationId;
	WorkflowTypeName workflowTypeName = workFlowTypeStr(ProductApproval);
	WorkflowComment note = "";
	WorkflowSubmitDialog workflowSubmitDialog;
	InventTable InventTable;

	workflowSubmitDialog = WorkflowSubmitDialog::construct(args.caller().getActiveWorkflowConfiguration());
	workflowSubmitDialog.run();

	if (workflowSubmitDialog.parmisClosedOK())
	{
		recId = args.record().RecId;
		InventTable = args.record();
		note = workflowSubmitDialog.parmWorkflowComment();

		try
		{
			ttsbegin;
			workflowCorrelationId = Workflow::activateFromWorkflowType(workflowTypeName,recId,note,NoYes::No);
			InventTable.ProductApprStatus = ProductApprStatus::Submitted;

			info("Submitted to workflow");
			ttsCommit;
		}
		catch (Exception::Error)
		{
			info("Error on workflow activation.");
		}
	}
	args.caller().updateWorkflowControls();
}
If there are any syntax errors, then you will be able to correct them in the editor.
- Now we have to relabel the submission menu items as the default labels that are generated by the Workflow Wizard for the submission menu items are a little generic. Just open your project and relabel them with user-friendly names.

- The final update that we need to do on our workflow type is to add some code at the Approval Handler so the workflow knows what to do when it completes. Search for the class with the suffix EventHandler (ProductApprovalEventHandler for our example) and change the completed method.
public void completed(WorkflowEventArgs _workflowEventArgs) { InventTable InventTable = InventTable::findRecId(_workflowEventArgs.parmWorkflowContext().parmRecId()); if (InventTable.RecId) { InventTable.ProductApprStatus = ProductApprStatus::Approved; InventTable.write(); } } - Just to be sure, save your project to make sure that there aren’t any other errors in the code. It would be a great ideia to use the form tutorial_workflowprocessor which you can find hidden away in AOT just to make sure that the AX workflows are up and running.
- Now that the workflow has been associated with the form, it’s time to submit the product to the workflow process and also perform approval steps. You should see that there will be a workflow header at the top of the form. This allows you to see the workflow that is associated with the form and also submit the record to the workflow.
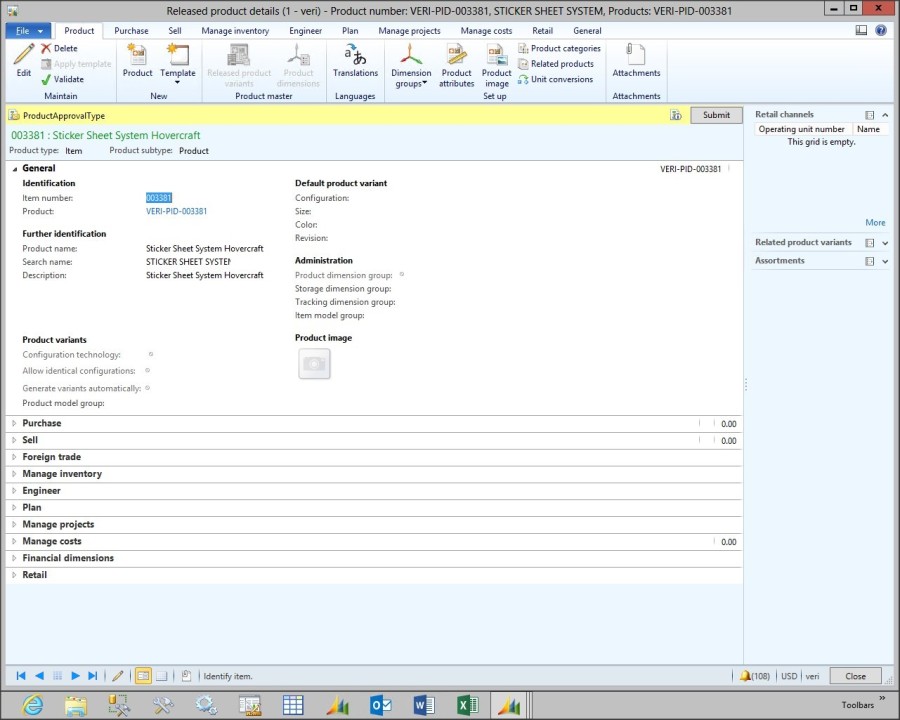
- If you click on the icon just to the left of the Submit button, Dynamics AX will show you the submission instructions that you have defined for the workflow. To submit the product to the approval workflow process, all you need to do is click on the Submit button. This will open up a comment dialog box. If you want, you can enter any comments into the Comment field, and then click the Submit button.
- The Submit button will change now to reflect the options for the current workflow step. In this case we will see the Approved and Rejected options for out manual decision, and also the standard Delegate and Cancel workflow actions.
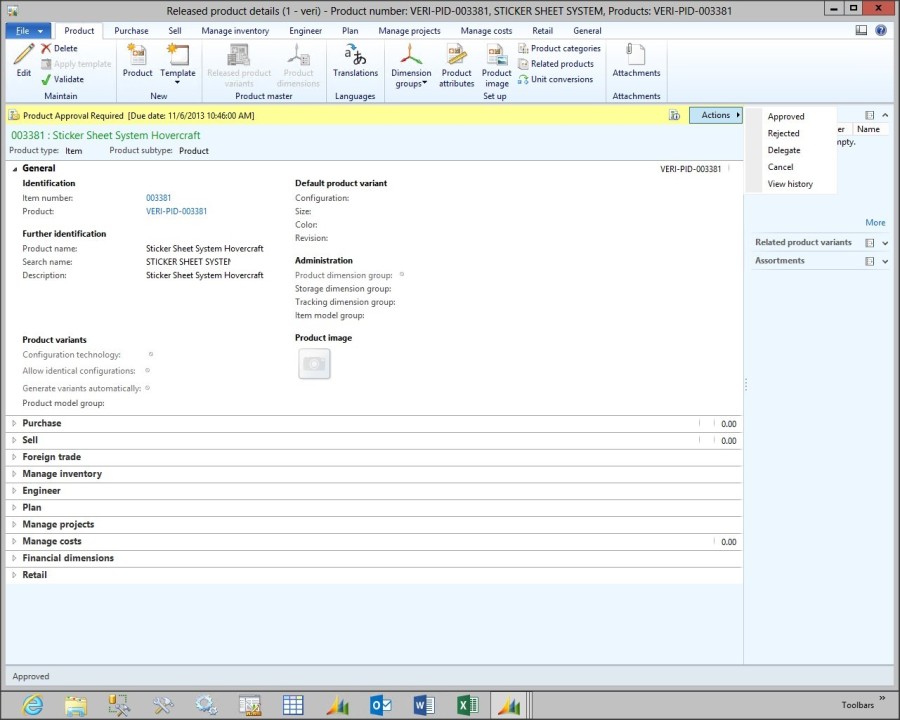
- Clicking on View History action you’ll be able to see the current workflow status and all step & interactions that have been performed up until this point as well.
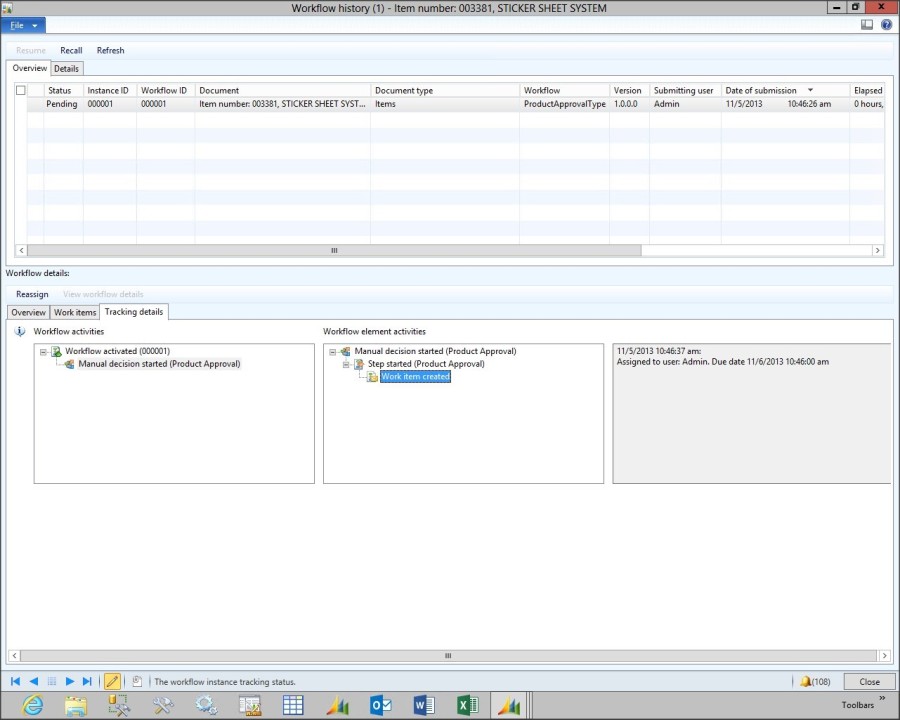
- You can also use this form to check for errors and what you have to do for the workflow to continue. If everything is OK after the approval, you should see an outcome like this:

You’ll also notice that the completed method already took action, so all business logic implemented should be already processed by now.


I don’t claim the authority of this whole post, it was based on a paper I’ve read from the Murray Fife, Microsoft MVP. It’s a clean cut version and the purpose here is to help all developers out there. You should check his very good quality work, by the way:
http://www.extendingdynamicsax.com
http://www.dynamicsaxtipoftheday.com
http://www.atinkerersnotebook.com
